-40%
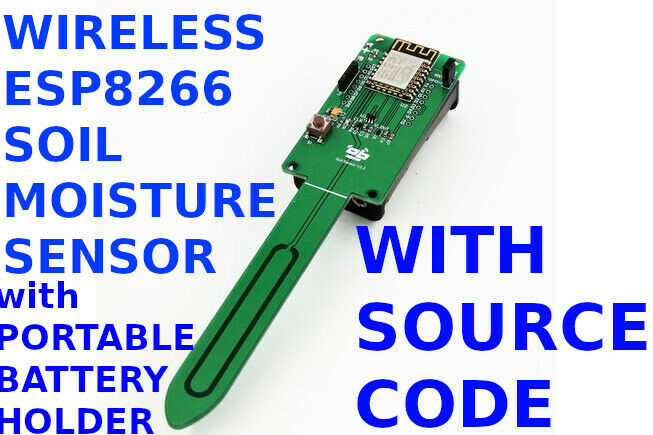
ESP8266 Wireless Soil Moisture Sensor v2.1 with battery holder for 2 AA battery
$ 18.47
- Description
- Size Guide
Description
Overview:ESP8266 based soil moisture sensor Wi-Fi enabled. Also provide ambient temperature and humidity sensor.
At the sensor's heart is an ESP8266 WiFi micro-controller clocked at 80 MHz and at 3.3V logic. This micro-controller contains a Tensilica chip core as well as a full WiFi stack. You can program the micro-controller using the Arduino IDE for an easy-to-run Internet of Things core. You can use ESP flasher that an upload code at a blistering 115200 baud for fast development time. It also has auto-reset so no noodling with pins and reset button pressings.
The sensor can upload sensor data to remote server. We provided example code for uploading to thingspeak.
Features
~ Uses
TMP112 with I2C instead of
DHT11
~ Jumper for wire GPIO16 and Reset pin
~ SWITCH for measuring soil sensor or battery voltage
~ Pinouts compatible with ESPea
Pinouts
~ D5 (GPIO14)
Clock source for soil moisture sensor
~ A0
Output of soil moisture sensor
~ GPIO13
LED
~ GPIO15
SWITCH for measuring soil sensor or battery voltage
~ GPIO12
Button S1
~ GPIO5
SCL for tmp112
~ GPIO4
SDA for tmp112
Note
~ Please choose "With ESP Flasher" add-on option if you want to programming the sensor.
~ Please remove the jumper for GPIO16 if you want to program the board.
~ Don't insert battery when you program the board.
Hardware
ESP-12F module x 1
Button x 1
Programming pinouts
Red led x 1
tmp112 temperature sensor (I2C) x 1
Soil moisture sensor x 1
AA Battery holder x 1
Pinouts compatible with ESPea
A jumper for wire GPIO16 to RESET
Measures 35mm x 157mm
AA battery not included. Please add AA battery x 2.
Quick Start
The project need install Arduino core for ESP8266 WiFi chip first.
1) Install and setup Arduino IDE
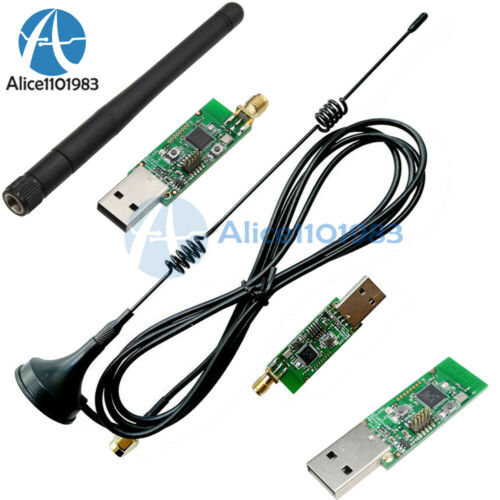
2) Use ESP Flasher to connect the sensor and PC. How to wire ESP Flasher and sensor? (See image)
3) Choose board type "NodeMCU 1.0" and right com port
4) Uploading
Source Code
AprilBrother/esp-soil-moisture-sensor @ github
Note:
Don't insert battery when you program the board.
For sensor v2.1, please remove the jumper for GPIO16 if you want to program the board.


